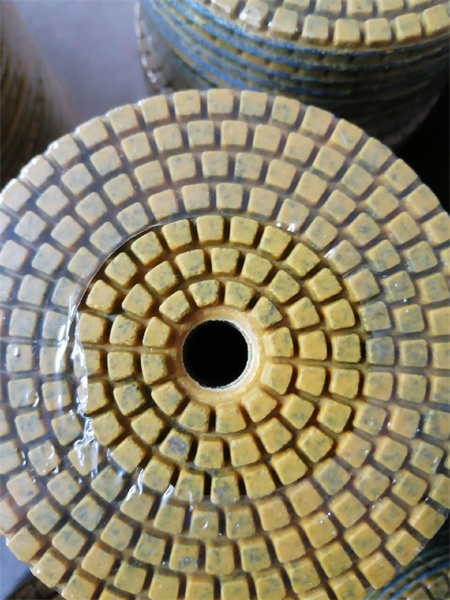
How to Use Diamond Polishing Pads on Curved Surfaces
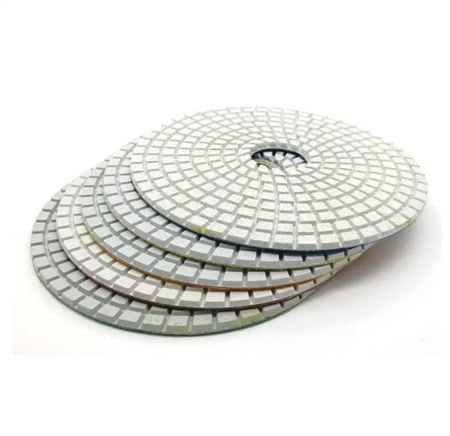
Polishing curved surfaces is a delicate yet rewarding task that requires the right tools and technique. Among the most effective tools for achieving a flawless finish on curved surfaces are diamond polishing pads. These pads, known for their durability and versatility, can make a world of difference when it comes to smoothing out imperfections and bringing out a high-gloss shine. If you’re looking to get the best results from diamond polishing pads on curves, the following tips and methods will help you master the process.
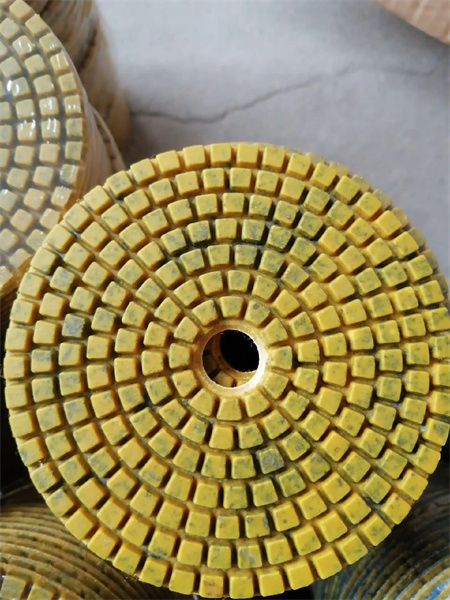
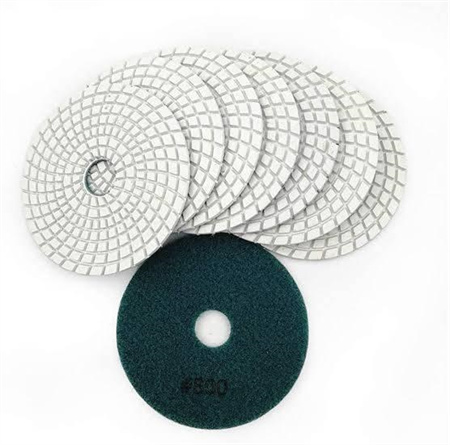
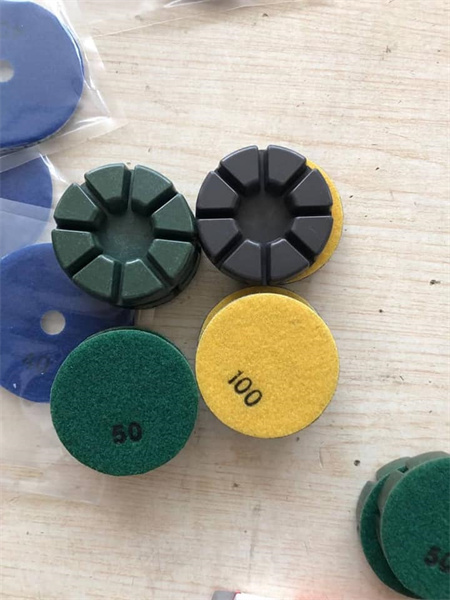
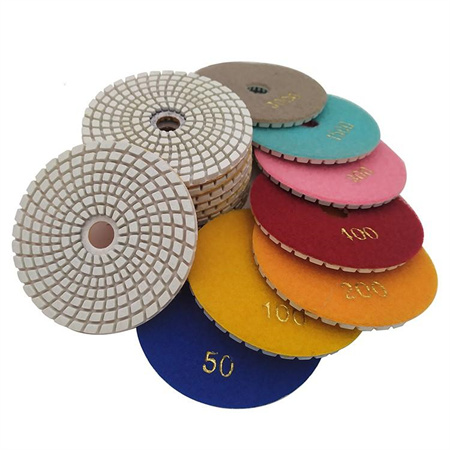
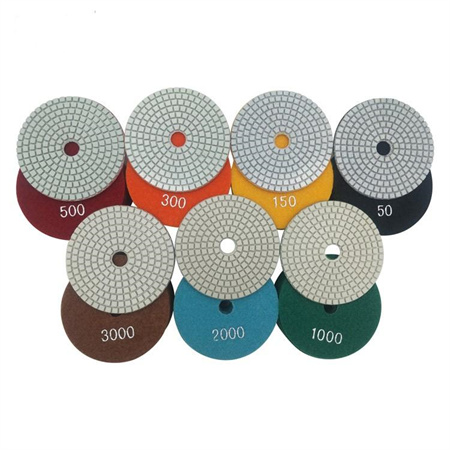
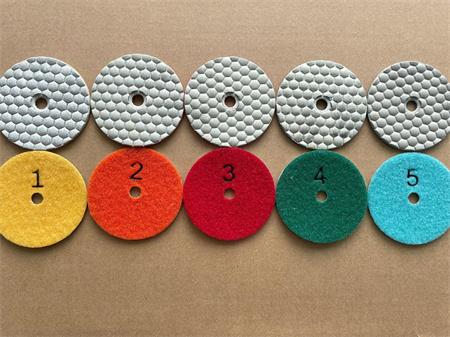
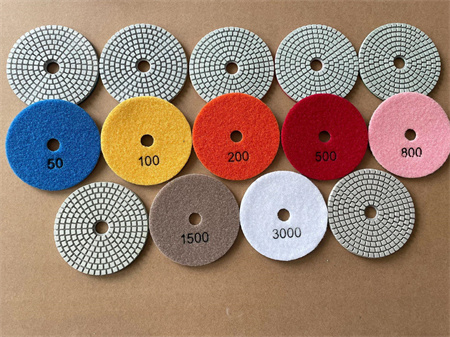
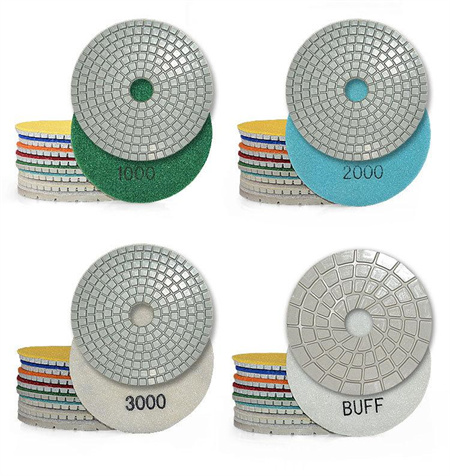
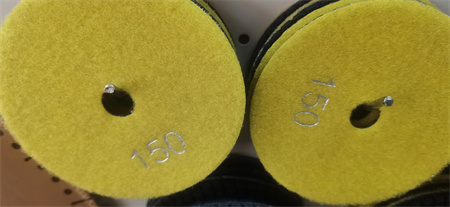
Before diving into the actual polishing process, it’s important to choose the right type of diamond polishing pads for your specific project. Diamond pads come in various grit levels, usually ranging from 50 to 3000 or higher. For curved surfaces, you’ll often start with a coarser grit and gradually work your way up to finer ones. A lower grit (50-100) is ideal for removing rough spots, while higher grits (1000-3000) are used for achieving a high-gloss finish.
The first step is to make sure the surface you’re working on is clean and free from debris. Dust, dirt, and oils can cause uneven polishing and damage the surface. Use a damp cloth or sponge to wipe down the area before you begin. It’s also important to ensure that the curved surface is stable during the process. If possible, secure the piece to a flat surface to prevent it from moving while you work.
When polishing curved surfaces, one of the key challenges is maintaining consistent pressure. Unlike flat surfaces, curves require more attention and a gentle touch. The best way to approach this is by holding the polishing pad at a slight angle, following the natural contour of the surface. Instead of applying too much force, let the diamond particles do the work. Move the pad in slow, overlapping motions, ensuring that you’re covering the entire surface evenly.
For smaller or tighter curves, such as intricate edges or corners, a smaller, handheld tool or a flexible pad may be required. These tools are designed to allow you to get into those hard-to-reach areas, providing greater maneuverability and precision. If your surface has a particularly tight curve, don’t rush—take your time to work through each section thoroughly.
Water is your friend when polishing with diamond pads. Not only does it help keep the surface cool, reducing the risk of damage, but it also helps to flush away dust and debris generated by the polishing process. Some diamond polishing pads are specifically designed for wet polishing, while others can be used dry, depending on the material you’re working with. Wet polishing typically results in a finer, smoother finish, especially for harder stones like granite and marble.
One technique to achieve optimal results is to use a circular motion with the polishing pad, but be sure to change your direction often to avoid creating swirl marks or uneven spots. Pay extra attention to areas where the curve changes direction, as these can sometimes develop high spots or a lack of uniformity. It’s often helpful to apply slightly more pressure on these areas to ensure they get polished thoroughly.
After each stage of polishing, check the surface for consistency. If you notice any imperfections or unevenness, don’t hesitate to go back and polish those areas again. It’s much easier to fix small issues along the way than to try to correct them after the entire surface has been polished.
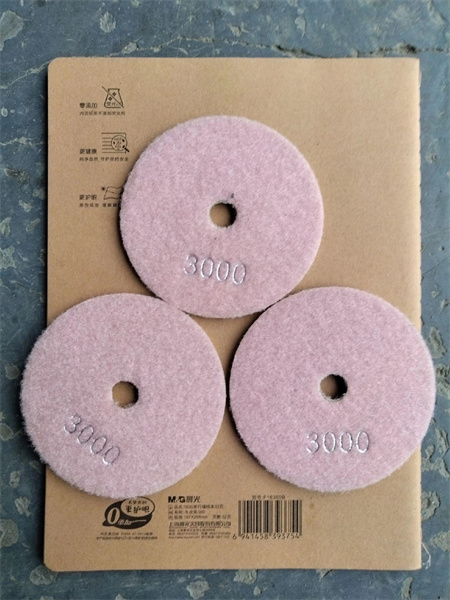
In summary, using diamond polishing pads on curved surfaces requires a combination of patience, the right tools, and a delicate touch. By selecting the correct grit for your project, maintaining a steady, gentle pressure, and using water to keep the surface cool and clean, you can achieve a professional-quality finish on even the most challenging curves. Whether you’re working on stone countertops, custom furniture, or automotive parts, these tips will help you get the results you’re after.
