How to Properly Use Water with Wet Polishing Pads
When it comes to achieving a flawless, high-quality finish on surfaces like stone, concrete, or tiles, wet polishing pads are an essential tool. But using water with these pads isn’t just a matter of splashing a bit on the surface – it’s a crucial part of the polishing process that can make or break your results. The right amount of water, applied correctly, enhances the effectiveness of the pad, minimizes heat buildup, and helps prevent damage to the material. Understanding the role of water in wet polishing is key to mastering the technique and getting professional-looking results every time.
Why Water Matters
Water serves multiple purposes when using wet polishing pads. First, it lubricates the surface, reducing friction between the pad and the material being polished. This not only allows the pad to move more smoothly but also prevents overheating, which can cause the pad to wear out prematurely or even damage the surface. Additionally, water helps to carry away the slurry – a mixture of dust, debris, and abrasives created during the polishing process. This keeps the surface clean, allowing you to maintain optimal contact between the pad and the material, ensuring a more consistent, even finish.
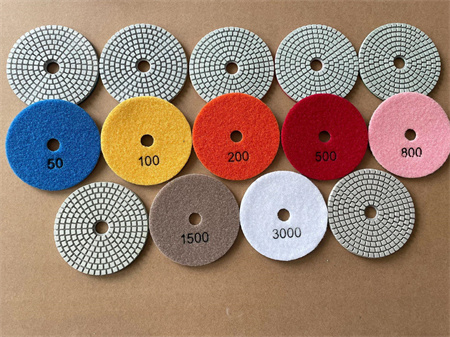
Moreover, water prevents the release of excessive heat during the polishing process, which is particularly important when working with materials that are sensitive to high temperatures, like granite or marble. Without enough water, the friction can cause surface burns or lead to discoloration, especially with delicate stones.
How to Apply Water
One of the first things to understand when using wet polishing pads is how much water to use. It’s important to keep the surface damp, but not flooded. Too much water can result in slippage, making the pad less effective and harder to control. On the other hand, not enough water can cause excessive heat, pad wear, and poor polishing performance.
Before starting, ensure that your surface is thoroughly cleaned to remove any debris or dirt that could scratch the material during the polishing process. Once the surface is prepped, lightly spray water on the area you’ll be working on, ensuring a consistent, even layer. You can also pour water directly onto the pad or the work surface as you go, but be cautious not to use excessive amounts.
While working, regularly check the pad and surface for signs of drying out. If the pad seems to be catching or dragging, it’s a sign that more water is needed. Always have a water source handy, whether it’s a spray bottle, a hose, or a small container, so you can quickly re-moisten the surface and keep things moving smoothly.
The Right Pad for the Job
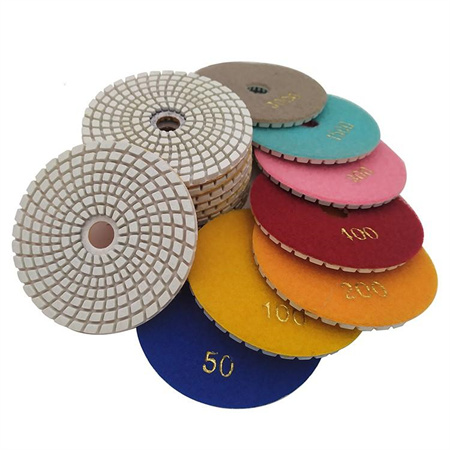
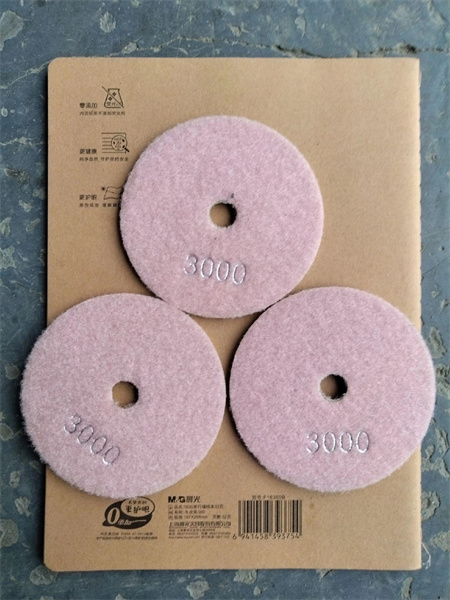
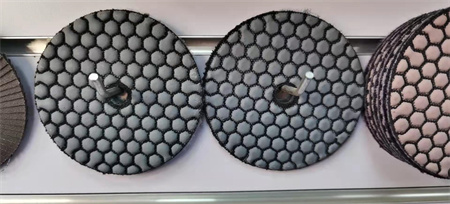
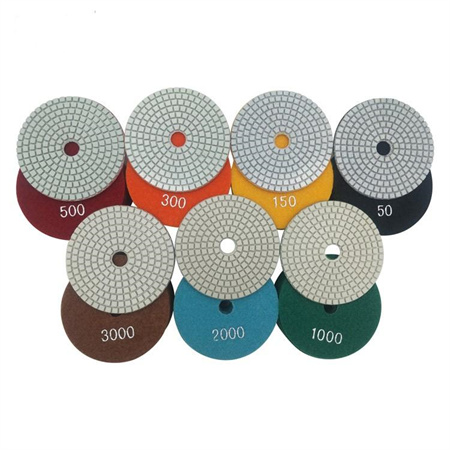
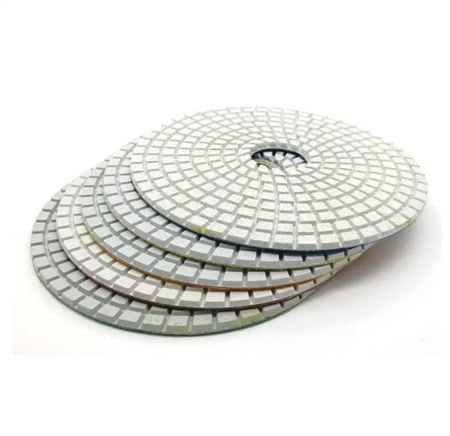
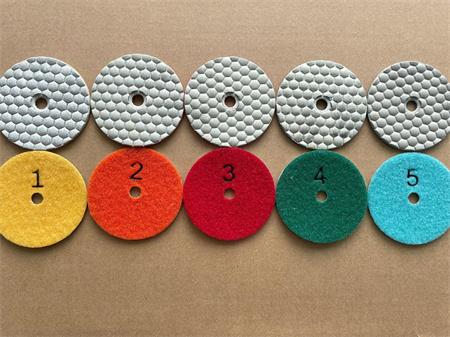
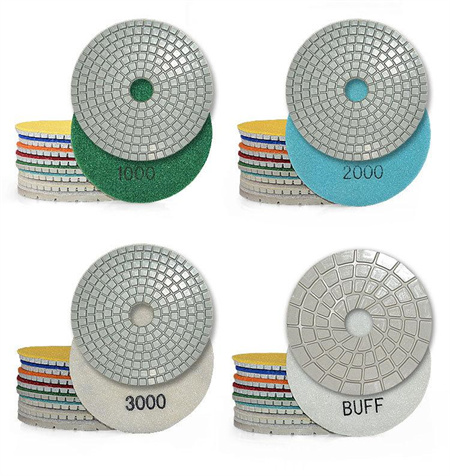
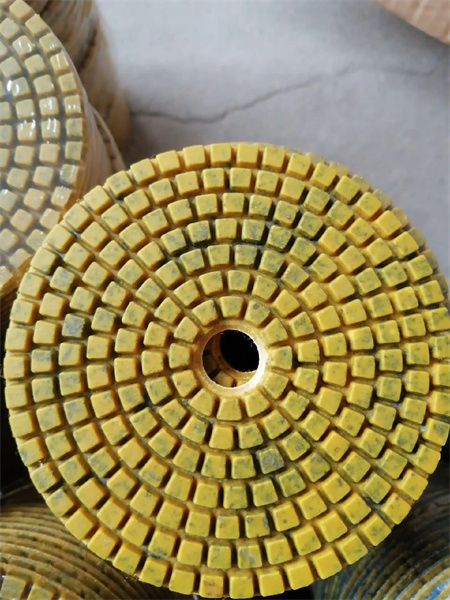
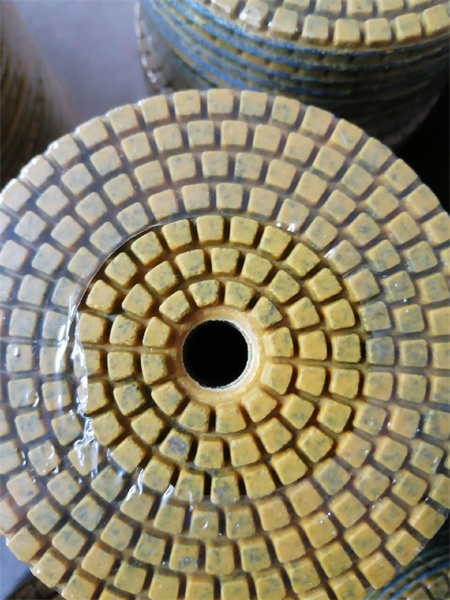
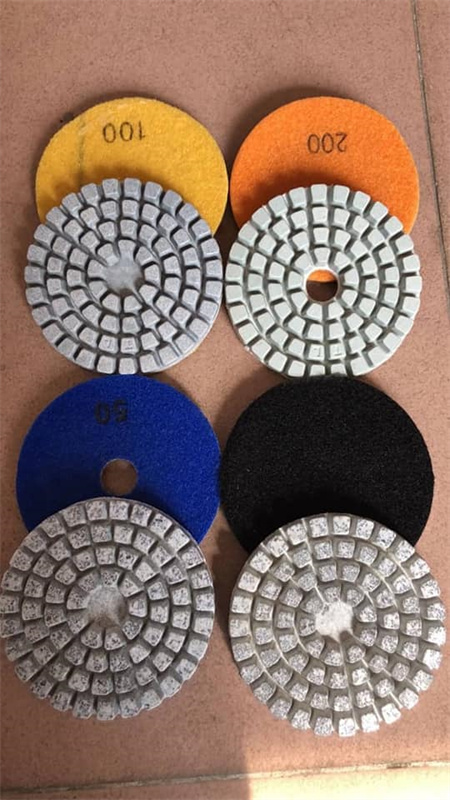
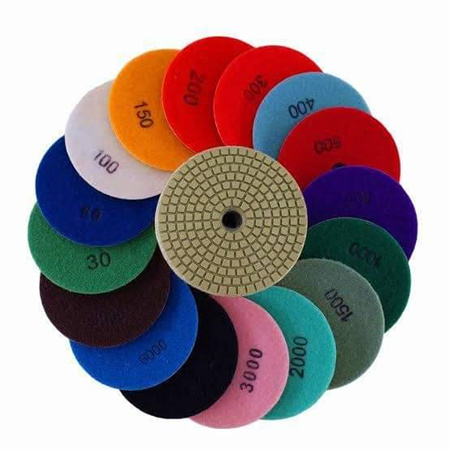
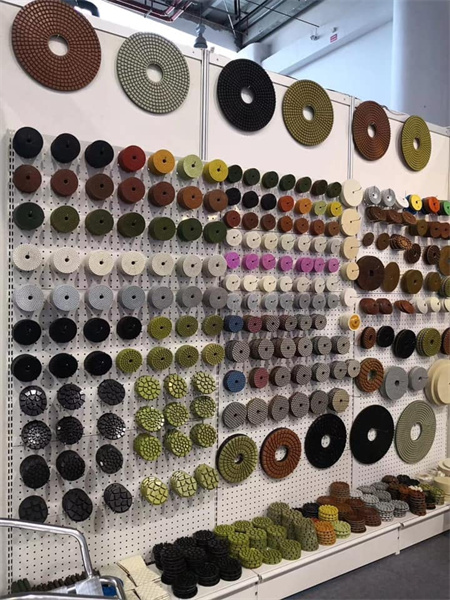
Choosing the right wet polishing pad is just as important as understanding how to use water. Polishing pads come in various grit sizes, from coarse to fine, and are designed for different types of material. For instance, diamond polishing pads are commonly used for stone and concrete surfaces, while pads designed for automotive or glass applications may have a different composition or texture.
Each pad has a recommended water-to-pad ratio. Some pads, especially finer ones, may require less water, while more aggressive, coarse pads might need a bit more moisture to perform at their best. Be sure to follow the manufacturer’s instructions regarding water usage to avoid damaging the pad or the material you’re polishing.
The Technique Behind the Polish
Wet polishing is as much about technique as it is about the tools you’re using. Start with a slow, steady approach, allowing the pad to make contact with the surface without applying too much pressure. Let the pad do the work – forcing it can create uneven results and increase wear. As you move across the surface, work in small sections, ensuring that each area gets the attention it needs.
Maintaining a consistent flow of water is essential, and it’s worth taking the time to periodically check the pad for any buildup of slurry or debris. This material can clog the pad, reducing its effectiveness and leading to an uneven finish. Cleaning the pad by rinsing it or gently tapping it against the surface can help keep it performing at its best.
Drying and Final Touches
Once the polishing is complete, allow the surface to dry completely before inspecting it for any imperfections. You may notice some slight hazing or light scratches, which can be removed with additional polishing or by using a finer grit pad. Once you’re satisfied with the finish, clean the surface thoroughly to remove any remaining water or slurry.
Water Conservation Tips
Using water efficiently is not only important for the quality of the job, but it’s also a consideration for environmental sustainability. Be mindful of how much water you’re using and aim to limit waste. A simple practice is to use a spray bottle to apply small, controlled amounts of water, as this can be more effective and reduce runoff compared to using a hose.
In Conclusion
Properly using water with wet polishing pads isn’t just a technical requirement – it’s the difference between a mediocre finish and a mirror-like shine. By ensuring the right water balance, maintaining a steady application, and using the right pads for the job, you’ll ensure a smooth and effective polishing process. The result? Surfaces that shine, gleam, and reflect your expert craftsmanship. So next time you reach for those wet polishing pads, remember: water is your best ally in the pursuit of perfection.
